I wanted to make some kind of shield, work in wood, and get some new tools. I used this project as an opportunity to do all 3! 🙂 I am a huge fan of The Replica Prop Forum, the creativity in those forums is amazing, so here’s a shout out to all you inspiring people! Here are some pictures and pieces of the process behind this shield.
I thought about doing Captain America, but I have done a lot of superhero projects lately, so I thought about other options. After some research and deciding on a Viking era style shield, I gathered some reference images that I liked from the internet:
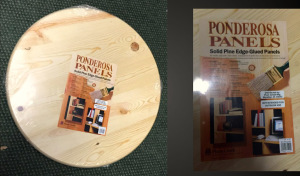
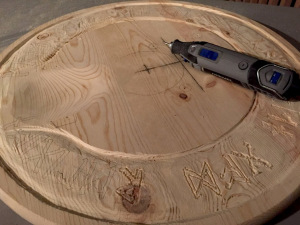
I purchased a round wood tabletop from Lowes, along with a new Dremel tool and some gate brackets. Not a bad start, mostly as I didn’t have the gear to round out a board properly. Plus, I figured I would make it into a nice end table someday.
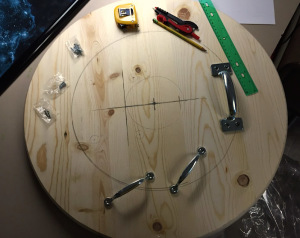
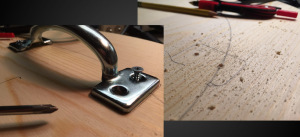
I measured out where I wanted the handles to be and drilled the holes for the screws. Later on, over Thanksgiving weekend, I masked out the edges of the back side and cut a small groove along the edges with the Dremel.
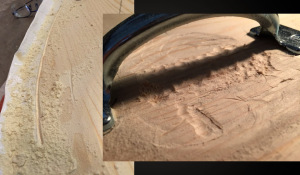
Turns out my step-dad had some handy tools, so I used them to grind out a space under the main handle to give some more room for my hand. I also used it to carve the edge lip a little deeper and make another ring on the inside.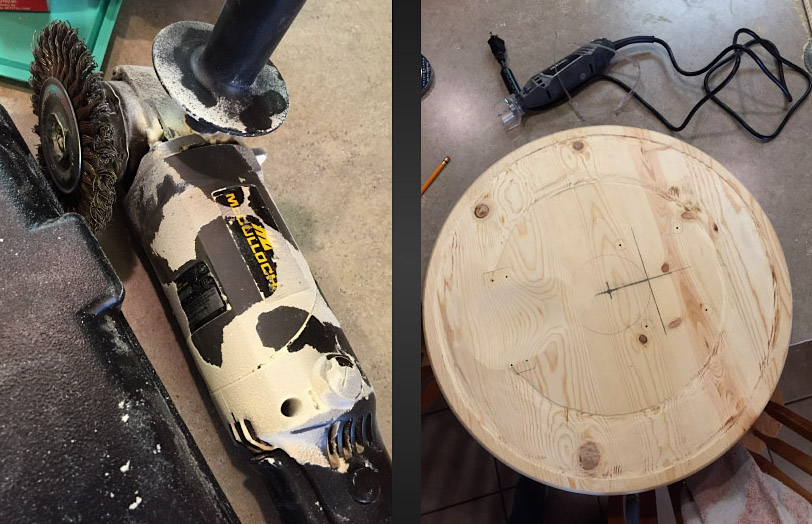
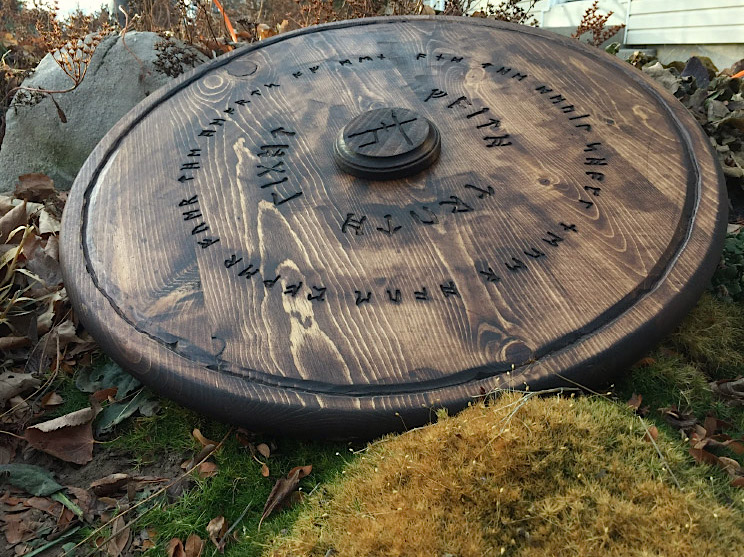
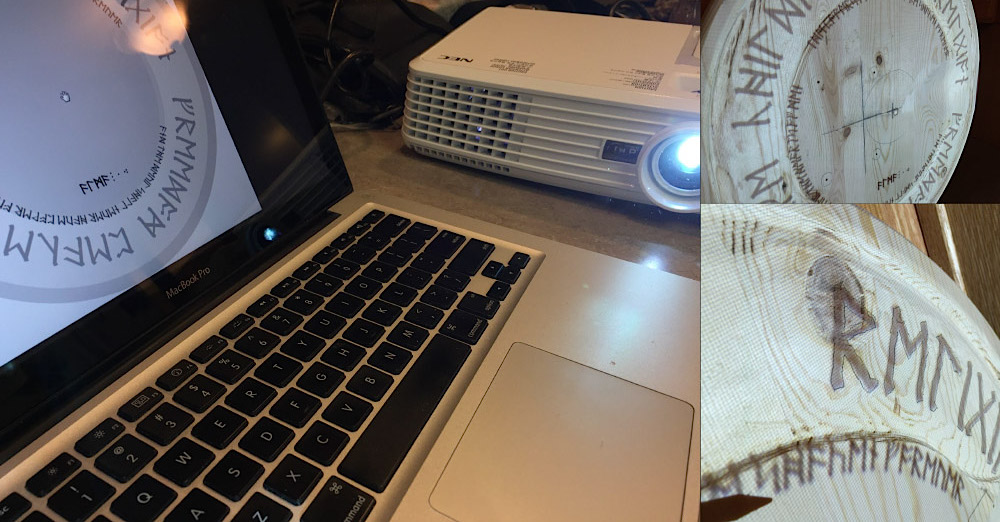
Time for design. I designed some runes for the shield using a Tolkein dwarf character font. It probably been cooler if I would have taken the time to translate it correctly, but for what I was doing this worked fine for me. I came up with a few different variations and layouts in Photoshop for both sides, picked the parts I liked, then threw it up on the shield with a projector. I traced the characters out in pencil, and it worked nicely. Time to carve.
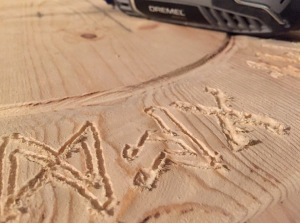
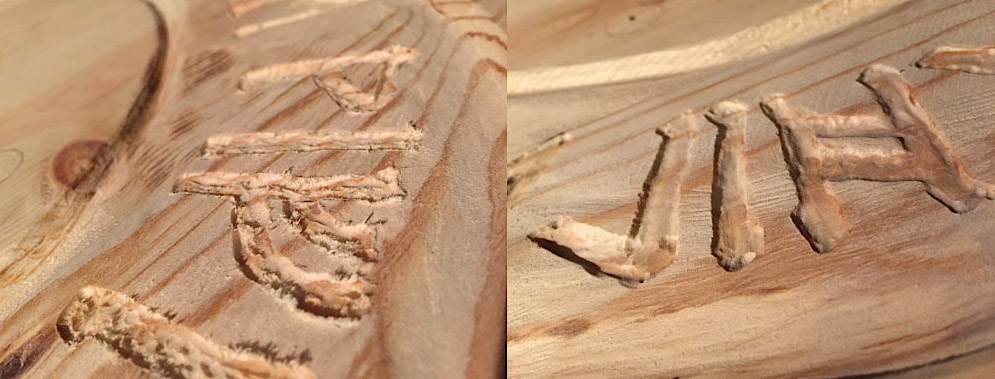
Now, the tedious part. Using the Dremel tool I carved in each letter, on both sides. I enjoyed doing it actually. It was fun to smell the wood, and have a couple hours to myself just to work. In a way it was kind of relaxing, except for the drilling noise. As a remedy, I put on my noise canceling headphones and pumped some music.
Once everything was carved out I put on a few finishing touches and sanded the thing down a bunch. My mom found a neat piece at a craft store while working on another project. Nice find mom! I traced and carved my initials into it. Ready to stain.
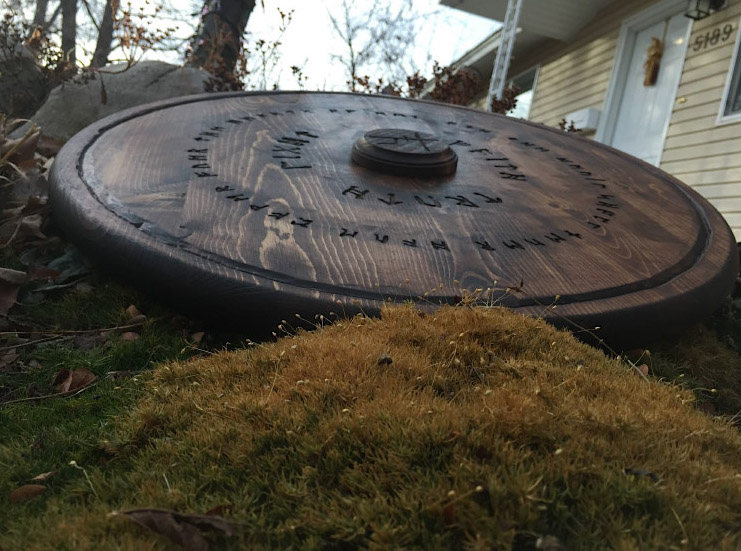
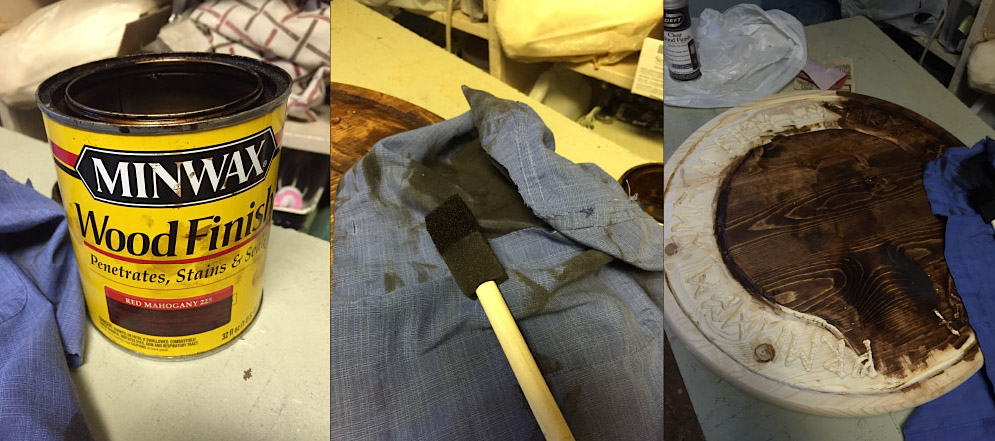
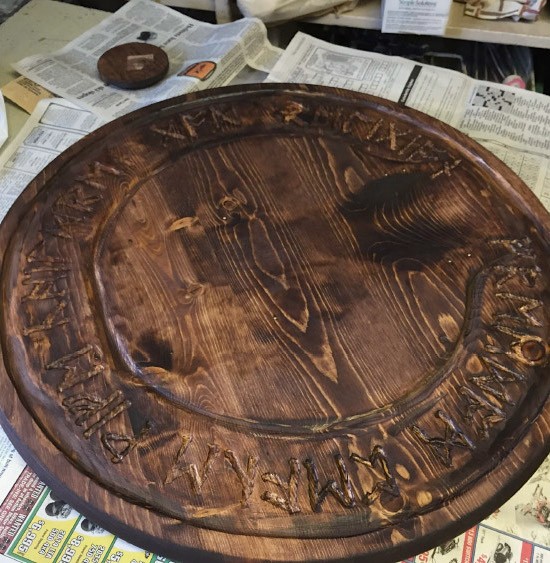
With help from my grandpa, I picked out some wood stain. and stained the thing a nice dark color. I wanted it to look ancient and old, we ended up using a red mahogany finish. I liked how it turned out. This is my first time working in wood, and it was fascinating to watch new warm wood change so rapidly. The way the stain absorbed into the wood looks almost like the runes were burned into the thing or as if it went through a pizza oven for too long, kinda cool. I put some semi gloss varnish on it to seal it, although it might have been better to use matte instead, we already it handy. Oh well, it still looks really cool.
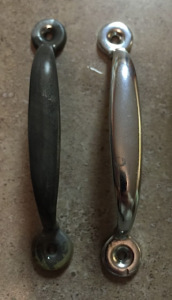
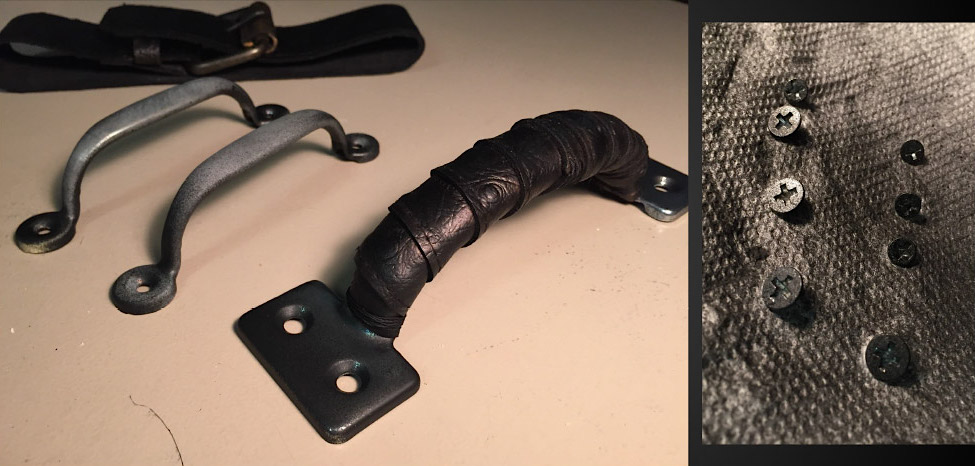
Now on to the brackets, they were too shiny and new looking, so I took a torch to them to discolor and darken them up a bit, make them more used and rustic. It worked nicely.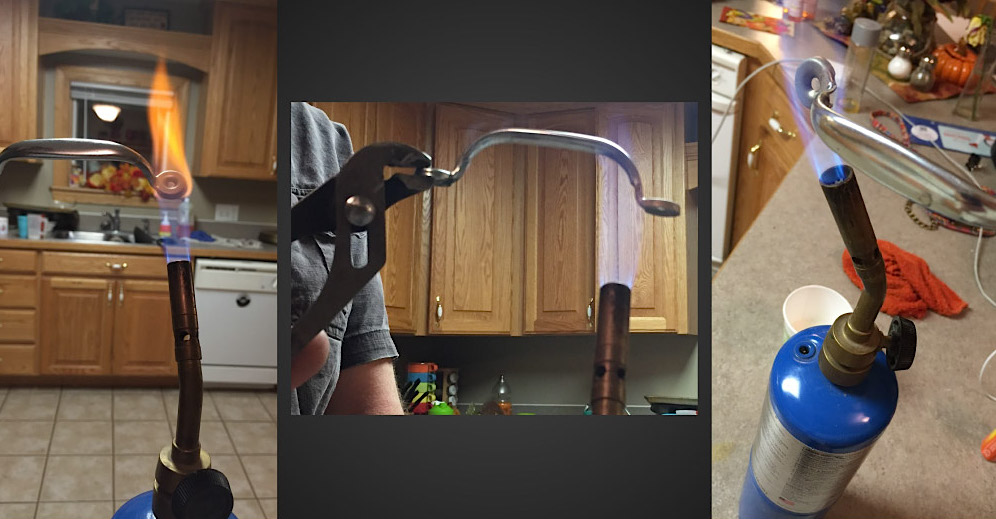
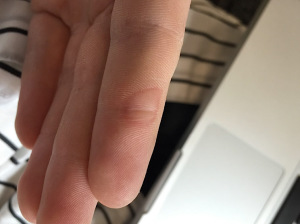
I even managed to accidentally burn my fingers in the process… Oops.
I grabbed an old belt from a thrift store for a couple bucks, chopped it up, and used it for the arm strap. It isn’t leather, but the texture was neat. Maybe it will get upgraded to leather later on.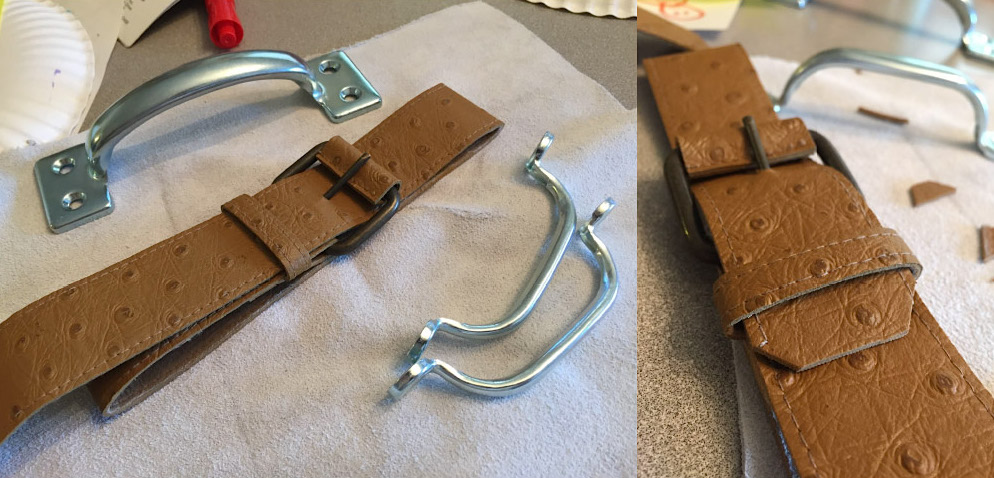
With the excess, I wrapped it around the large handle, and tacked it down with some thread. This helped to look less like a cheap gate handle and feel handmade, plus it absorbs some shock, not that I expect to have to use it all that often, but at least it’s there.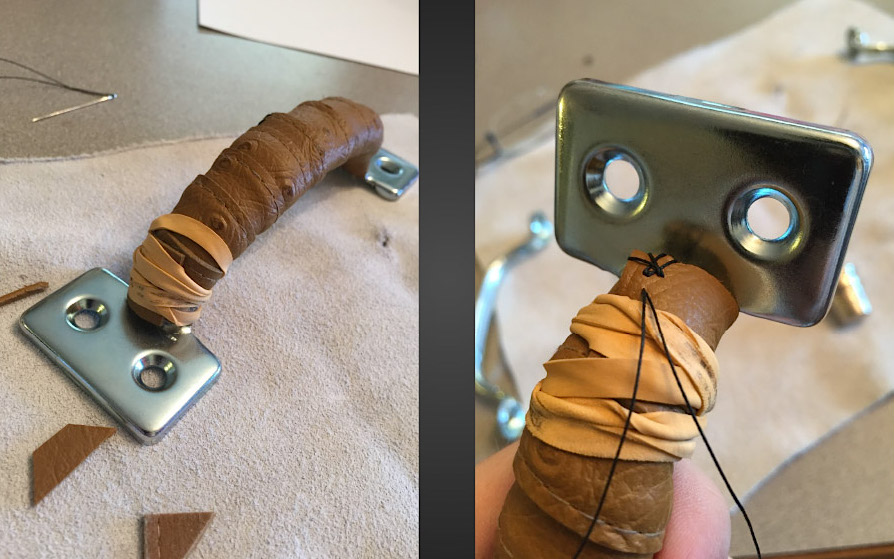
The belt looked too new and bright compared to the aged shield, so I darkened it up with some black leather tanner. Perhaps too dark with the black, oh well. I also lightly painted the tops of the screw so they wouldn’t be shiny either. I probably could have heated the screws the same way as the handles, but I didn’t think about it for some reason. I used the spray paint to lightly mist the tips of the handles to give some shading definition.
With some finishing touches, wood glue to attach the small round piece to the front, and another couple coats of clear semi gloss, it is all finished. I am happy with it.