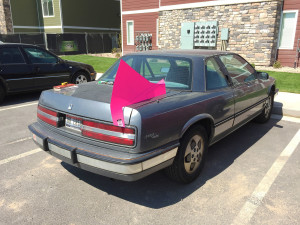
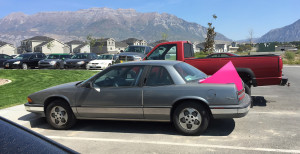
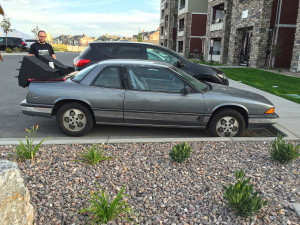
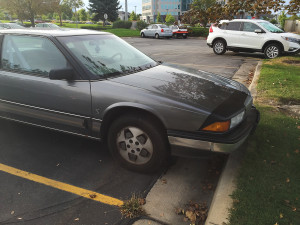
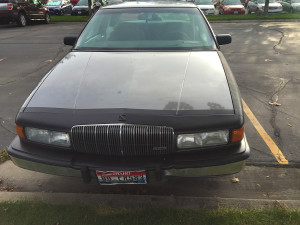
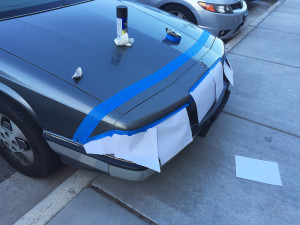
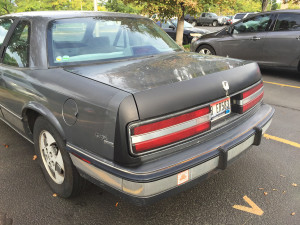
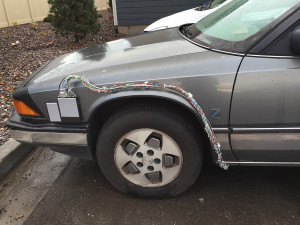
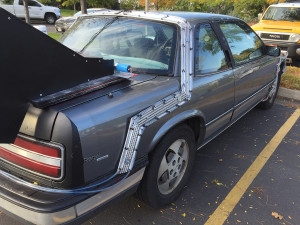
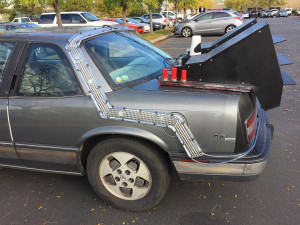
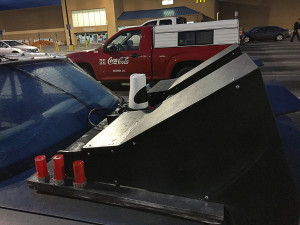
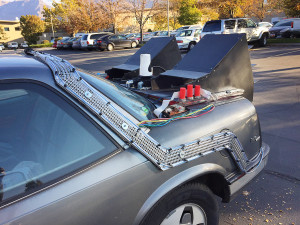
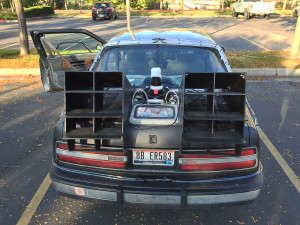
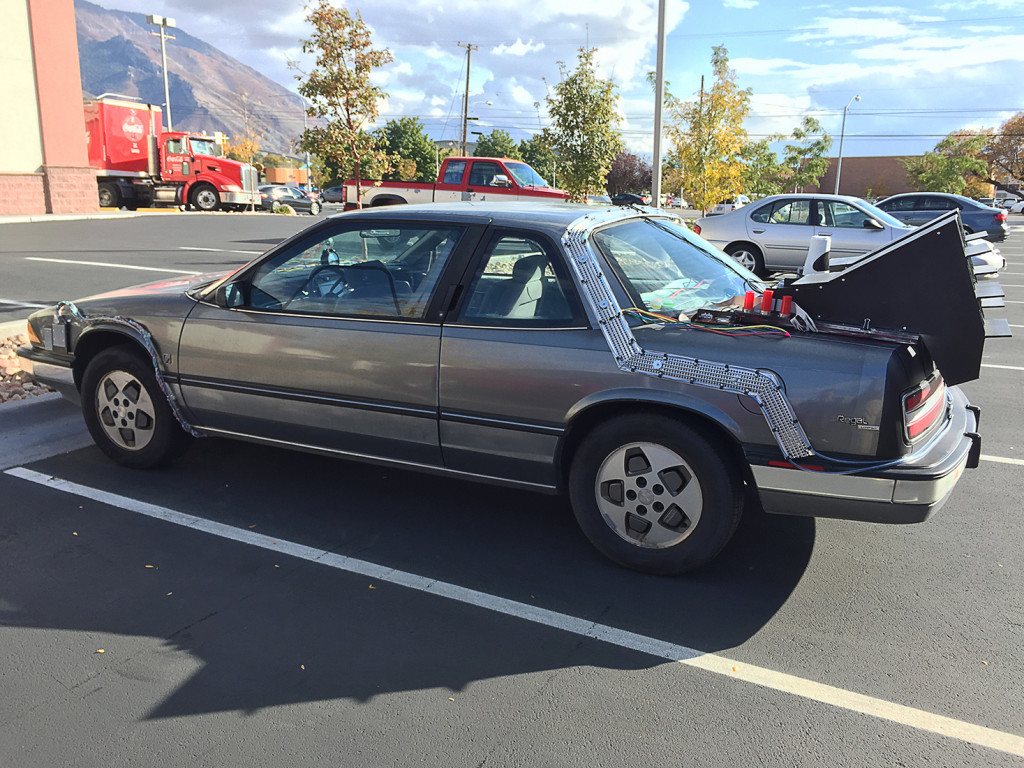
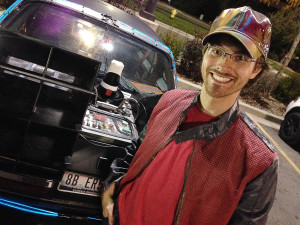
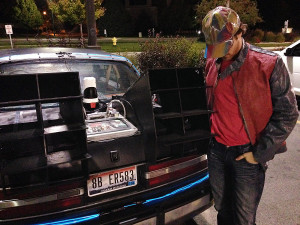
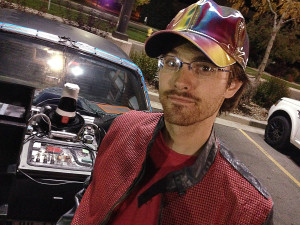
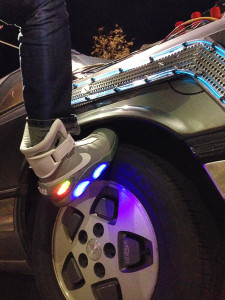
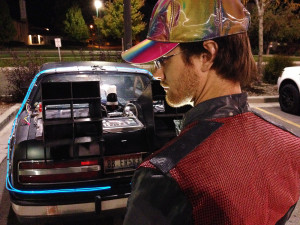
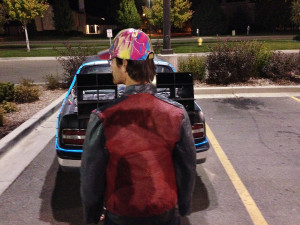
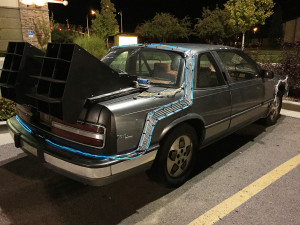
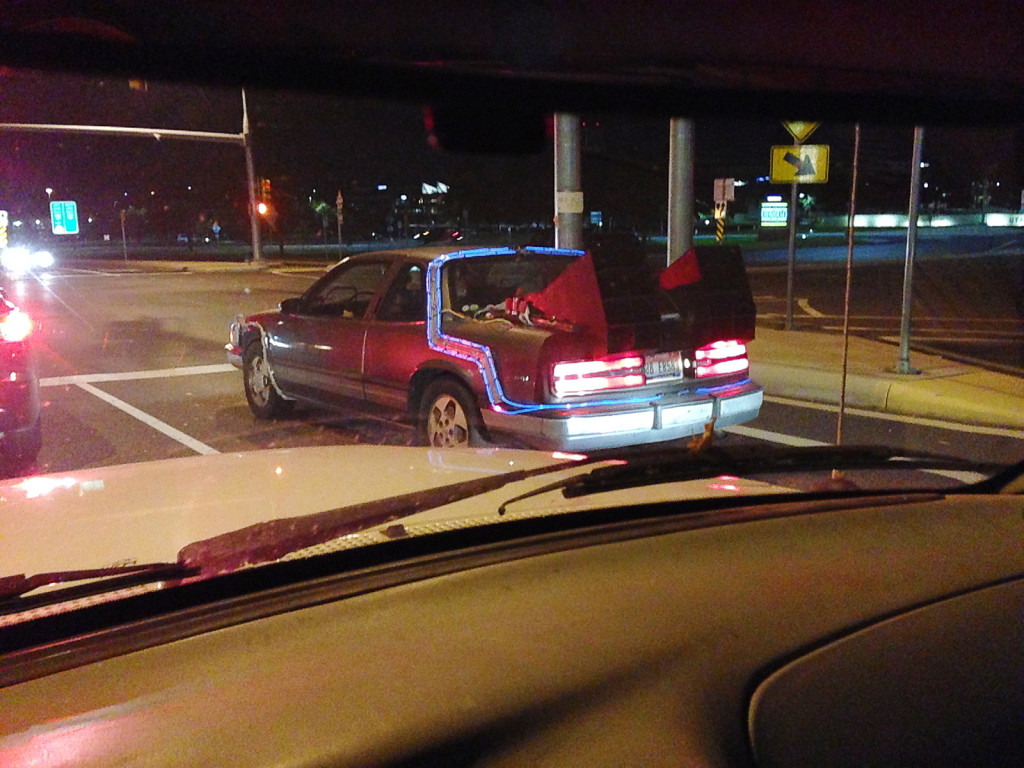
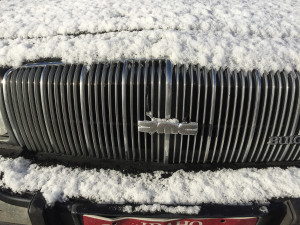
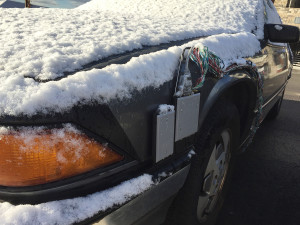
I absolutely love the Back to the Future movies and have always wanted the Time Machine, sadly I can’t afford a Delorean at the moment. So, I decided to make one. I’ve wanted to do this for probably 15 years now. I don’t have a real Delorean so for now I will make due with what I’ve got: a 1988 Buick Regal. Yeah, I decided to make my own home made time machine.
Here’s a shoutout to the Replica Prop Forum. I’ve followed the RPF for several years and finally joined a few years ago so I’d be able to comment and post, I love it. I’ve built plenty of things over the years and I figured it’s high time I documented it well enough to post on there. Here is a link to my build thread on the RPF where I posted updates on my progress as the project progressed.
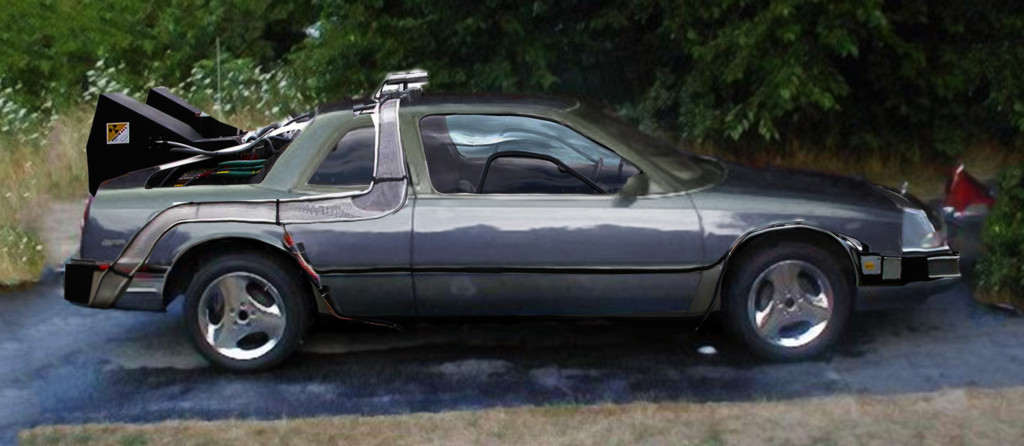
I got started by doing a quick and dirty Photoshop mockup with a picture of the same model just to see if it would look even close. As a proof of concept it was enough for me. Though the result wasn’t too far off I needed to figure out how much I would need to build, so I moved onto something a little more high tech.
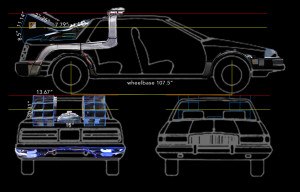 I found a similar 3D model on sketchup and merged it with a model of the time machine using Maya, keeping only the parts that it needed to look like my favorite fictional masterpiece. Some things were scaled moved around to eld with the shape of the Buick. I was pretty pleased with the results, it helped having the ability to orbit around the model in 3D to see it from multiple angles.
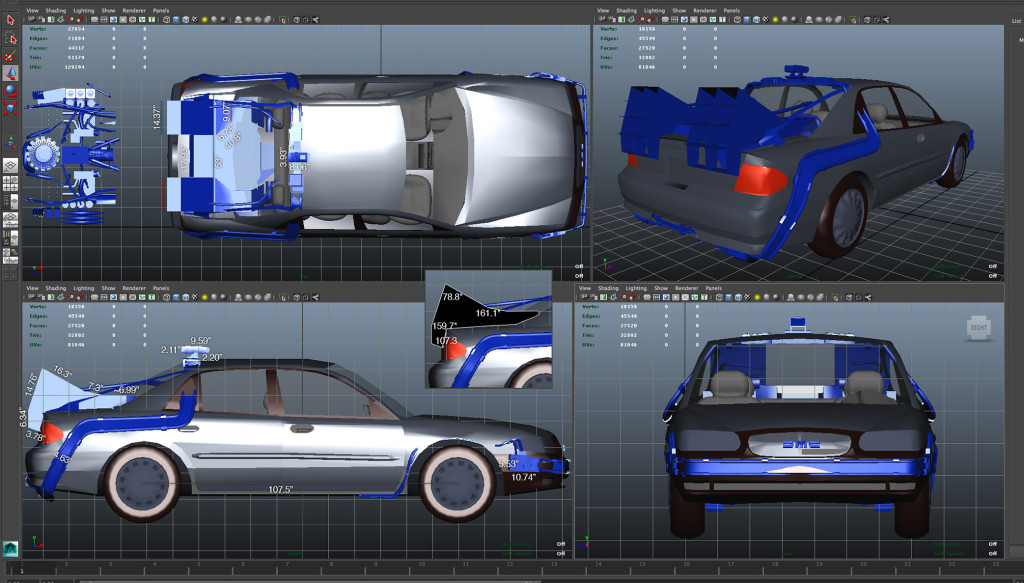
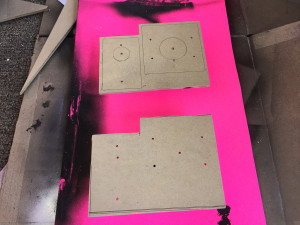
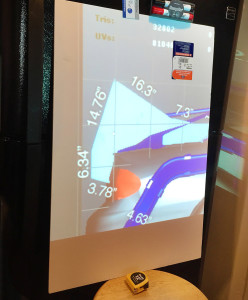 From there, I figured out the real life measurements in Photoshop by using the wheelbase of the car as a starting point. I had never measured things in photos before, so with a little research, I found that the ruler tools in PS can convert pixels into any measurement based off known values. Pretty cool. Next, I traced the vents onto some spare poster board with my projector. That thing is handy for so much more than watching movies. I tried to stay fairly close to my original digital guestimations using a ruler as a guide to ensure the projection was accurately scaled. As I wan’t trying to make a perfect replica I wasn’t too worried about getting the measurements identical to screen accuracy, had a real Delorean been part of the equation the results may have been different. This thing only needed to fit on my car not a Delorean.
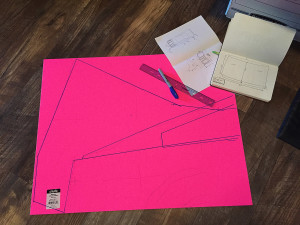 The pink poster board was leftover material from some stage props I built a year ago, they had to be a specific color in order to fluoresce under a blacklight which is why there was so much pink. I had TONS of various colors left over from the project and I am just finally getting to the end of the pink ones haha. Posterboard makes for nice prototyping material. I cut everything out with scissors and tried it on for size on my car.
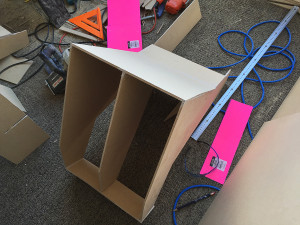
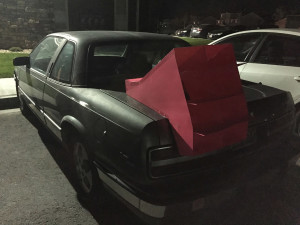
Not bad. Time to add some dimension to the thing, so I measured, traced, and cut out the rest of the pieces, then taped them together. In hindsight, I wish I would have taken into account the thickness of the board that I would be using to attach the vents to the car. More to come on that later on.
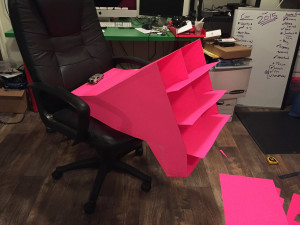
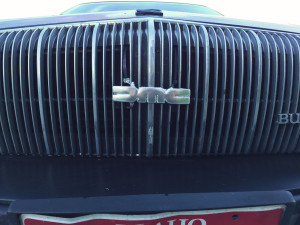
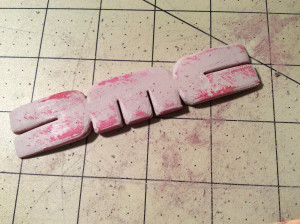
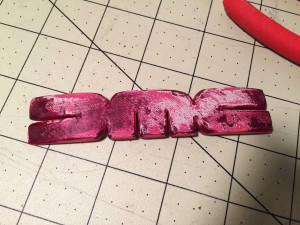
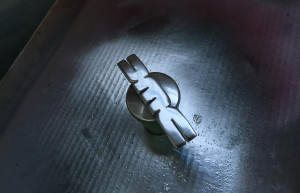
Through the whole process I thought about what materials to use and how to attach everything to the car. In the meantime, while I was waiting for some rainy weather to clear up I 3D printed a DMC logo for the front of the car. Interestingly, the ABS print peeled up from the printbase and warped the base but the rest of the print worked out normal. Because the logo is symmetrical, I just flipped it over and used the curved side as the top, it gave it a nice and unexpected bevel.
With this print I learned a lot about finishing and sanding the details on my 3D prints. I found that if I sanded them with the medium grit sandpaper first to get things as smooth as possible then painted them with plastic primer, then continued to sand it helped smooth everything out. I repeated this process through several layers of paint to build up the smoothness of the print. At some points I varied the color of spray paint used which helped to see the layering at different points in the sanding process, it almost ends up looking like an elevation map. Granted, if I had a more expensive 3D printer this would all be less necessary. The painting and finishing to come later.
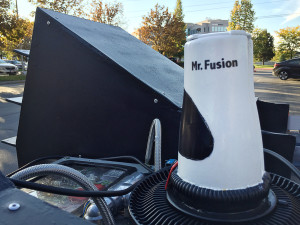
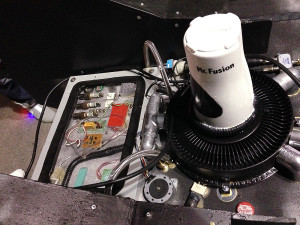
I’ve always preferred the look of the time machine without Mr. Fusion, thought the reactor looked cooler and more balanced on the car, but this is 2015 so it should probably be part of this project. Eventually I might make a version with just the reactor and yellow cap. I knew that this was a place that I could get creative while saving money at the same time.
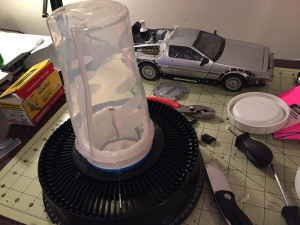
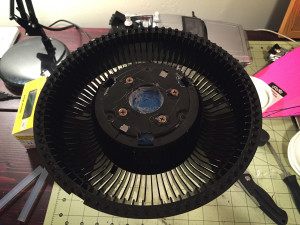
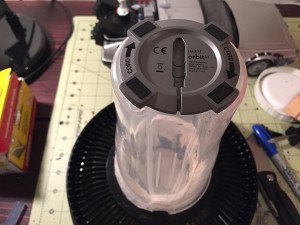
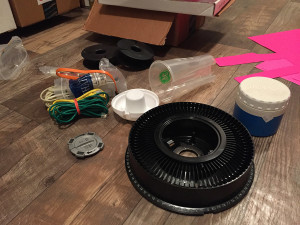 Mr. Fusion is made out of parts from a local thrift store:
– slide projector carousel
– small thermos
– plastic cup
– plastic thing (found out later it was from a portable speaker)
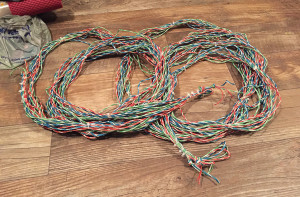
While I was there I picked up some colorful wire cables to use for the interior decorating later on.
I pieced it all together with hot glue and some screws. Everything on the car needed to be as sturdy as possible as to hold up to driving and weather.
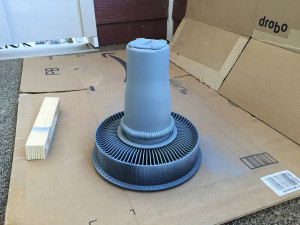 Then I hit it with a coat of grey primer, ready to paint.
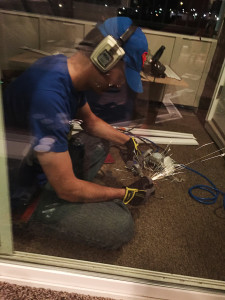
For the majority of this project I used my small second floor balcony as a workshop. It gives me a convenient place to paint things, cut wood, Dremel, or make almost as much noise and mess as I want. I do try to keep the noisy stuff down by doing it as early in the day as possible. Sure makes me want to have my own studio though 🙂
I painted the base of Mr. Fusion a glossy black, then after it dried masked the base and painted the top a gloss white. In hindsight I wish I had done this in the reverse order, based on the shape it would have made the mask easier.
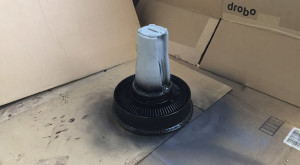
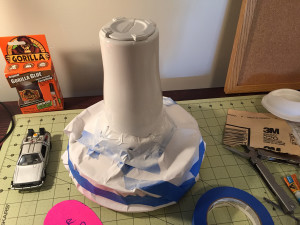
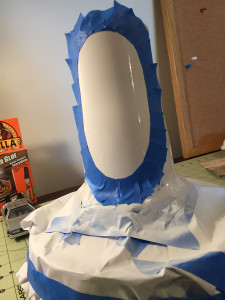
 Next I masked off the window area, hit it with some black spray paint, and waited for it to dry.
While I was at it, I doused the smooth DMC logo with some shiny paint, wanting a silvery chrome look. Not bad for a rough 3D print and some paint. (and plenty of sandpaper) I was pretty surprised at how it came out, it shines really nicely in direct sunlight.
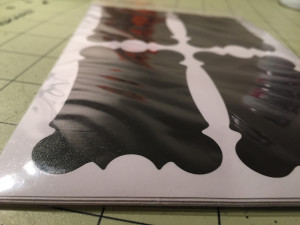 I found some black stickers at Walmart, they seem like some kind of thin plastic or vinyl perhaps, similar texture to a Moleskine notebook. Either way, it was super cheap for a 24 pack. I traced out the logos for Mr. Fusion with an x-acto knife while waiting for the paint to dry, but as it turns out I need much more practice cutting out stencil-like shapes haha. It didn’t quite have the look I wanted, and because I had made Mr Fusion smaller as to make it fit on my car, the logo just looked out of place. I decided not to use this and just go with another option.
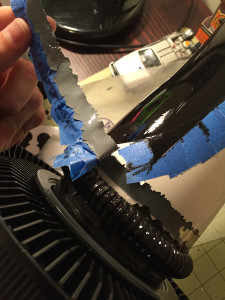 Later on, as I removed the masking tape from Mr. Fusion, the paint came with it. The primer I used was cheap and it didn’t adhere to the slick plastic. Rookie mistake, oh well. Live and learn. Luckily this gave me an opportunity to do it right.
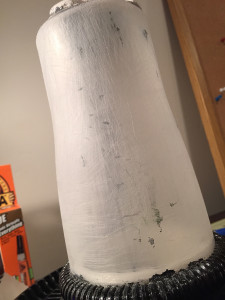
I decided to strip off the rest of the paint, which was far too easy so I’m glad the mistake happened here instead of down the road. Plus, I was glad for the opportunity to repaint it as I didn’t like the shape I ended up with for the window part. I sanded it down a ton to roughen the surface and then coated it with a better plastic primer than I had used before. This time the paint stayed. Instead of the textured sticker logo I opted for just the lettering, which was made from sticker alphabet characters. Sealed with several more coats of clear spray the stickers now stay in place and look nice.
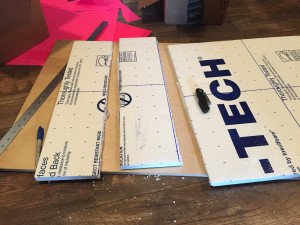
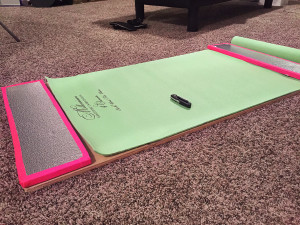 I started building the base for the trunk by cutting up some pieces of styrofoam insulation and wrapped the edges in some gaff tape. (Again pink left over from the blacklight props). I also chopped up an old yoga mat that I got for free during a BYU ballroom tour to Florida a while ago. The base had to be thicker at the outside edges to compensate for the curve of the trunk.
I made plans for the next day to start cutting the boards for the rear vents. That’s where the car will get most of the iconic look I think. I’m excited for that part to take shape. And it begins…
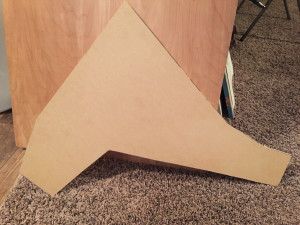
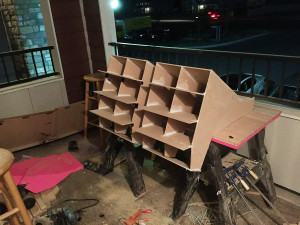
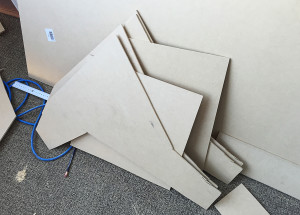 The next night after work I was able to cut out most of the pieces, or at least the big ones, then pieced a few of the boards together. The vents are made of MDF. It looks good so far. I planned to finish cutting the rest of them during the next couple days.
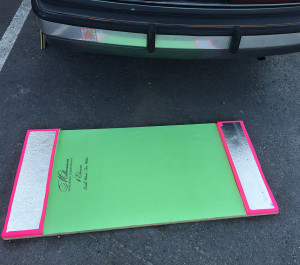
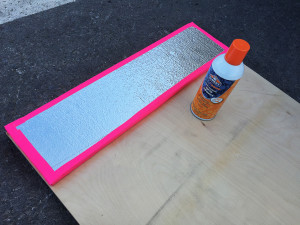
I attached the gaff-taped foam pieces and the yoga mat to the plywood base with some spray adhesive. I also picked up some small ratchet straps at the store so that I will be ready to attach this thing once it is done. The plan was to strap the board to the trunk lid like a bike rack, which did the trick. The green and pink reminds me of the hoverboard, it will be painted black before too long.
I sprayed another coat on Mr. Fusion before I left for work in the morning and left it to dry all day. In the evening I sanded the thing a little more and put on another coat of white. This time it felt a bit more permanent, especially as it held up to some sanding even after last nights paint coats. That’s hopeful.
The next day I watched BTTF Part 1 with Amanda who had never seen it before.
Eventually I finished cutting all of the pieces out and put them all together. I used Liquid Nails Heavy Duty at first, continuing to do various tests to see how it will hold up on the road. if I feel it needs it I will add some brackets for additional support. It seems pretty sturdy though. Sorry for the messy work place, I was on a roll and that’s what happens haha. I haven’t gotten around to painting it yet as I’m waiting for the liquid nails to cure overnight.
Trying the vents on for size. Still a lot of work to do, but it feels good to have something to show for all the sketches, sawing, and mess
It’s too easy to see the texture of the wood and the seams so I think I’ll spray on some PlastiDip. Does anyone have any alternative ideas that are affordable and look nice? Now, on to the side “Z” things. Still have some figuring out as to how I want to do this part…
I have a quick freelance project the first half of this week, so my nights will be spoken for until Thursday or Friday. Luckily it is a really fast turn around so I will be back at it by the end of the week. This also gives me a break from the project so that I can brainstorm, then come back at it with fresh eyes. It always helps me to have tiny pauses every now and then to sorta reset myself.
In the meantime, how are things looking? I’m open to suggestions or ideas of how I can improve this thing. (within reason of course haha) thanks for all the support guys!
The trunk still opens with a little help, it’s just super heavy…
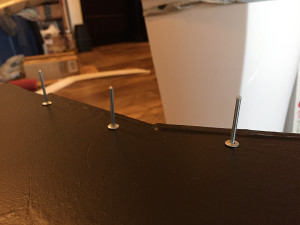
I think my liquid nails solution isn’t going to be too terribly reliable with MDF boards. I got a bunch of small angle irons to brace the edges. The boards are too thin to put a screw into and have it still hold well without poking out the back side. I could use some small bolts and nuts or something. I’ve decided on small pop rivets to hold things together. I’m super deep into a freelance project on top of my day job so This will have to all be on hold until Friday and Saturday sadly.
I have been looking around for some materials to make the flux bands out of. I found some cool looking raingutter guard that might work. Once I get rolling on the project again I’ll finally make a decision on the bands. For now, I may be pulling an all nighter tonight to finish this freelance gig in time, I enjoy it though.
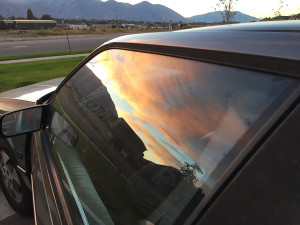
I woke up the other day to a cool sunset, so I snapped a pic on the way to work.
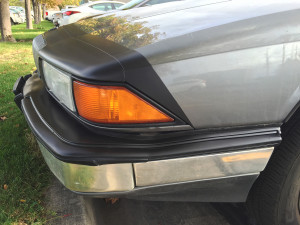
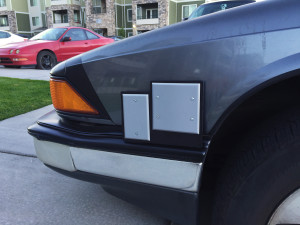
Over the weekend I Plasti-Dipped the front and back of my car to add some Delorean-esque detail. It helped the look and feel more than I could have hoped for.
I took this picture before I cleaned up the overspray on the back end. I think I will go back over the top of the rear bumper with another coat when I get home today. I originally didn’t dip that part because I didn’t think that it needed it. But after I pulled off the masking tape the contrast was way more obvious than before. That should be a quick touch up though.
I also picked up some of that rain gutter guard over the weekend as well. I’ll be doing some tests with it to see what else I need to do to attach them securely to the car. More updates to come as time ticks away!
Last night I glued some zipties to the DMC logo, which messed up the paint job a ton, so I will touch it up tonight now that the glue has cured. I also sprayed the top of the rear bumper with plasti dip to complete the look. It looks nice, considering it’s not a delorean…
In the meantime I have also been working on other elements for the future.
Story time:
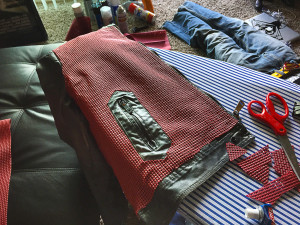
So a couple of years ago I made a 2015 jacket by hot gluing the maroon drawer liner to an old coat, but I wanted to make a nicer one as it looks pretty terrible. The hot glue was a bad idea. So back in December of 2014 I went around and bought some sweet fabric to make into the jacket. I bought some pretty nice stuff. I have a favorite jacket that I wanted to use as a pattern for everything (I don’t have a picture of it at the moment). There is a semi distant family member who works in sewing heavy material so I thought this would be a good opportunity to get to know them better, learn some new skills, and give them some extra unexpected income. I made a trip up there over Christmas break and we talked about the jacket and made a paper pattern from my favorite coat. I had designed my own version of the 2015 jacket with a more modern look and my own twist. We were both pretty excited about it. It was going to be pretty time consuming so eventually I left the jacket and the fabric there for her to work on while I had to go back to school. Shortly after, there was a death in their family which was very sad to hear about. To make a long story short the jacket won’t be done in time for the 21st so I’m going to my plan B: Make another one.
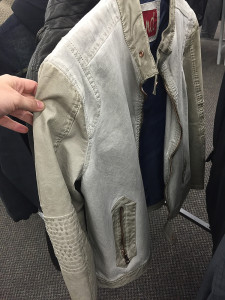
I found this jacket on clearance, which is a little big for me, but that’s fixable.
I think I’ll dye the sleeves grey, and still haven’t decided if I will dye the canvas part or glue on some more drawer liner (this time the proper way). Any thoughts?
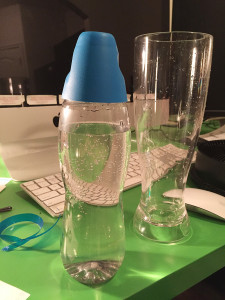
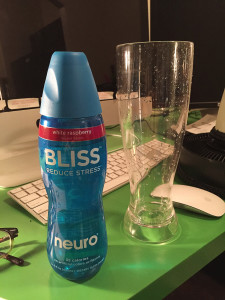
While I was out and about I found these. They might make a cheap alternative to the Pepsi Perfect bottle, although I still plan on picking one up.
Sorry, for the lack of updates, I will have more updated on my actual car soon.
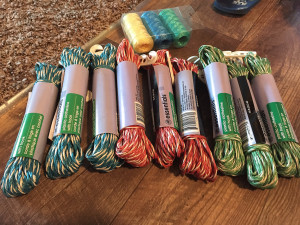
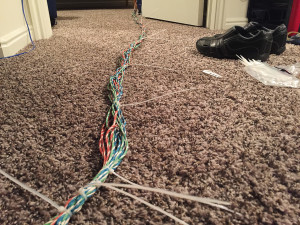
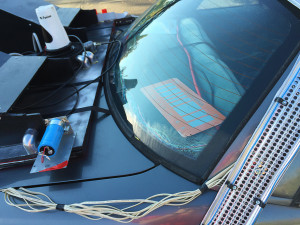
I found a cheap alternative for the exterior wiring! These come in three colors of 70 feet each from a local dollar store. After stringing them out and tying up my apartment, I was able to fold the ropes into thirds and zip-tied them together. Up close it’s clear that it isn’t real rubber coated wire, but from a few feet away and more it looks like a huge rope of multicolored wire. Not bad for a few bucks of string and zip ties.
I ordered a respirator which should be here today, now I can finish painting the vents. All that paint was killing me so I thought it would be a good investment. Once the paint dries i will rivet them together and strap them officially to my car. I will also pick up some magnets on the way home to attach the “wire” to the outside of my car.
I’m almost done with the flux boxes.
The two different magnets for each side are different sizes so the smaller needed to be raised up a tiny bit. This solution made cents…
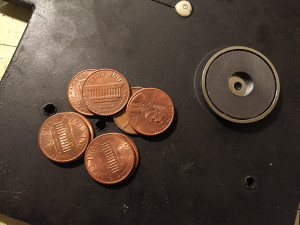
The glue is drying now so there will be more pictures when I get home tonight
Sorry for the lack of an update last night. We accidently watched a few episodes of Gotham, and couldn’t stop. Pretty sweet show. While watching I did make some sweet progress on my Nike bag. I’ll post it when I get a chance. Here are the flux boxes. and DMC logo. I’m pretty happy with how the flux boxes came out. Sadly the DMC logo doesn’t look as cool as it did a while ago, as the paint job got messed up when I was attaching the ties to the backside. I wasn’t able to get it back to pristine without giving it a complete overhaul, so I cut my losses. Hopefully it still works.
Most of all I hope these things stay attached to the car. I’ll do some tests and might upgrade the magnets eventually. Hopefully I won’t have to.
Thanks for all the kinds words everyone! I really appreciate the encouragement.
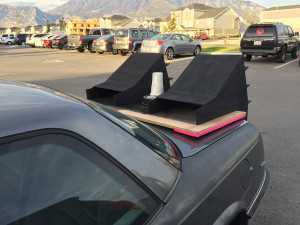
So, the update as of now: I’m done with the rear vents, finally. I ended up riveting them together with some small angle irons for added support.
Both are attached to the board and are looking nice, though not perfect, but hey it adds character. It was a bit tricky to get them screwed on tightly, it took a bit of pre drilling and various sizes of screwdrivers to reach inside the vents to attach them but it worked out fine in the end. Mr Fusion is also finished and attached as well. I’ll send pics as soon as I take them haha, I was on a roll last week and over the weekend. I’ll try to be more on top of posting photos and updates. The flux bands are still giving me trouble. I’ll explain when I get around to posting the pics. Man those bands are bugging me, but I have an idea that I think will work. The blue EL wire I ordered came in the mail last week as well.
I started decorating the rear board with various hardware, PVC parts, wires, and other trinkets that I’ve collected over the years. It’s been tons of fun getting into the detail work rather than just construction. A couple years ago I grabbed a bunch of cool looking gizmos from an army surplus store, those are definitely going on on this thing.
Almost there!
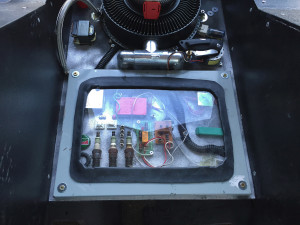
Much of the detail work is done on the rear vents and gizmos. Still a little more to add but you can get an idea of what I have been doing lately. I repurposed my old flux capacitor box as I decided to order a diamond selects replica to save me some work. I screwed it to the base after gorilla gluing down a bunch of miscellaneous stuff I had hanging around. Definitely not screen accurate haha but I figured using a Buick regal instead of a Delorean was the first offense so I might as well embrace it.
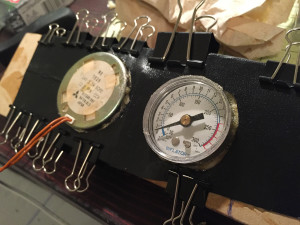
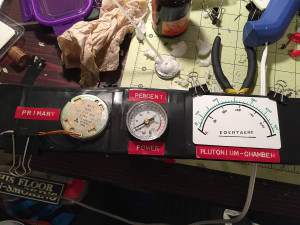
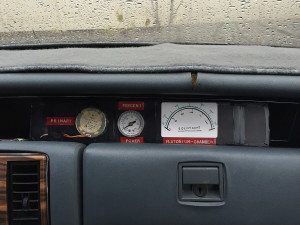
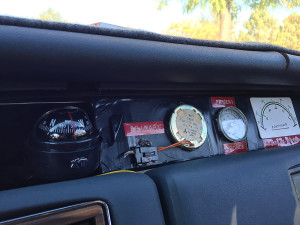
This is the dashboard gauges, still a work in progress. Again, these are parts from my old army surplus collection set into some leftover MDF board from the reactor vents. I’m still looking for a more boxy gauge for the plutonium meter.
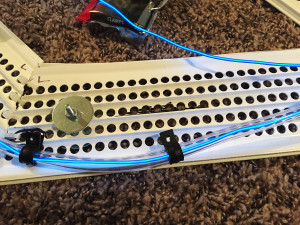
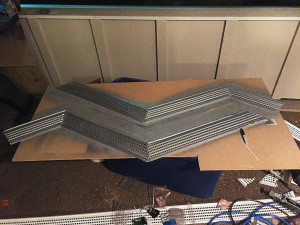
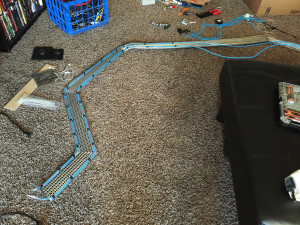
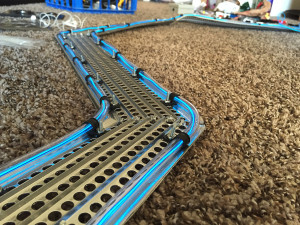
And finally made some decent progress on the flux bands! These have been the evasive problem on this project for some reason. I did end up gong with the rain gutter guard from Home Depot, only about $7 for 6 feet of the stuff. All the pieces are cut out and the vinyl edging removed. After sanding a little and zip tying them together I put on a coat of primer. (I spent forever figuring out ways to do the angles. I tried heating them and bending, but the angles were too steep for that and I ended up wasting most of one strip. I tried cutting them and using JB weld to seal them together, that didn’t really work to my liking either. So zip ties seem to be working fantastic and are fairly low profile compared to what I was expecting.)
I still need to make the rooftop part of the flux bands. Eventually they will be painted to be a more shiny chrome silver look. Once that is all dried I will re-attach the magnets and bolt on some brackets to hold the clear vinyl tubing. Things are coming along nicely. These things were a thorn in my side trying to figure out and make them look half decent, but now they’re behind me I can pick up my momentum again. Why is it sometimes the seemingly easy stuff that sneaks up and clubs the creative process in the head? Beats me. Glad that’s over haha.
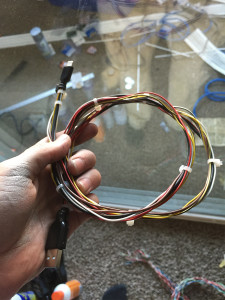
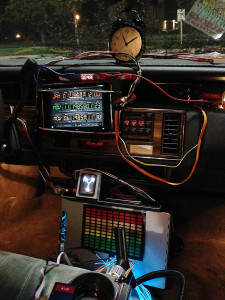
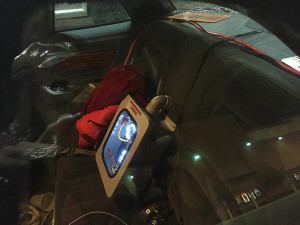
The plan is to use my iPad with the Flux Capacitor app as my time circuits. I’ll just mount it to my dash and it should be fantastic. I’d love to build some sweet time circuits some day, but I figure if I’m going to spend the effort and money to make some I might as well pull out all the stops. For now the app is a great alternative until I have the time to build it the right way instead of “close enough.” In order to keep the thing charged I ordered a cheap charging cable and wrapped it in wires. I’ll just leave it in the car as decoration and undercover functionality.
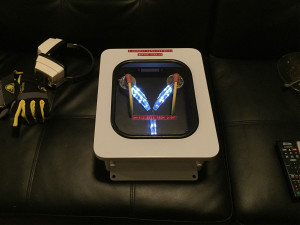
Look what came in the mail yesterday! There were some screws and one of the spikes jingling around inside when I opened it. I’m not sure if it was due to shipping or manufacturing. Looks like I have some emailing to do.
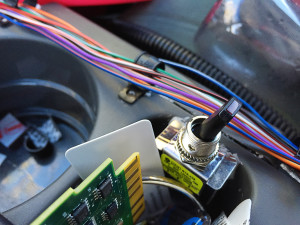
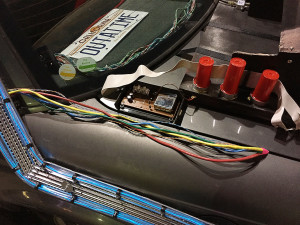
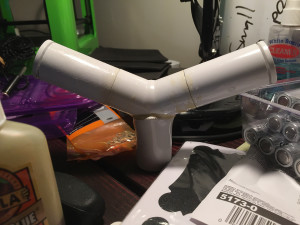
I picked up some miscellaneous PVC parts on the way home yesterday to make the time circuits control switch. It took a bit of dremel and the heat gun to get the pieces to fit together. After some sanding and paint it won’t look too bad.
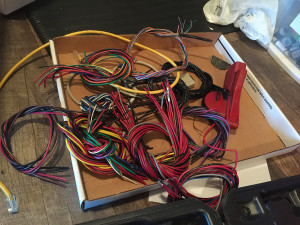
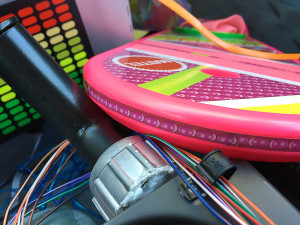
Here’s a picture of some of some spare wires I’ve collected over the years, originally intended for my flux capacitor that remained unfinished (and is now attached to the reactor vents). These will be strung about inside the car. I also have a crate of old more miscellaneous cables and wires in the trunk of my car that will be used as well. Once all the big pieces are done I will move on to the interior of the car.
I finished shaping the flux bands last night with my skill saw and heat gun. I left those to dry with the shiny paint overnight. Tonight I will be attaching the tubing and EL wire. I still need a way to get the wiring to end up inside the car so the power and buttons will be accessible. I’ll probably have to splice in an extension. Any ideas of where to send the wires inside? Probably not best to have them getting smashed in the door all the time. Maybe theres a space in the trunk that would go through. I’ll keep plugging along. Thanks everyone!
An update on the slightly damaged flux capacitor:
I just got off the phone and everything is sorted out. I decided to go for a partial refund as I can fix it myself fairly easily, and I don’t want to hassle with shipping it back and not getting a new one in time for Oct 21st. I’m happy with how it all wrapped up, though had it been any more than some minor damage I would have been more upset. Luckily it wasn’t too bad and all is good in the end.
advice from the rpf:
Sometimes cars have vent intakes just below the windshield, and you could sneak the wires through the vents inside. Not sure if your Buick has that, but that is one route.
Sweet thanks for the idea! I’ll look into that.
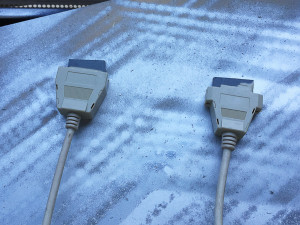
Here are some old computer cables that I’ve altered to be the “mole richardson” plug that goes into the flux boxes. I pulled out the pins and bracket with some pliers. I glued some plastic into the end to give something to attach to the plates I previously made. This pic was right before I painted them.
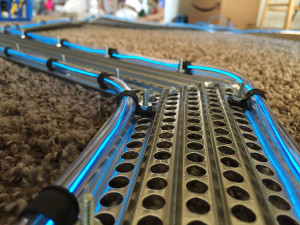
And here are the flux bands painted shiny with the EL wire mostly attached. They look even cooler outside with natural light!
It proved to be tricky to get the EL wire inside the tubing. My solution was to thread through some of the extra dollar store rope first. I had to unwind the strands to make it smaller, there were 3 strands, 2 color and one white. Once that was done I taped a nail with the head ground off to the end and pull it through with one of my strong magnets. My roommate helped feed the string on one end to keep it from catching while i coaxed the nail along the length of the tube with magnets. Kinda like a bullet train haha. We did two tubes yesterday, and when the rest of the EL wire arrives in the mail we will thread the last two tubes and attach them to the bands. I am really happy with how the bands came out. Quite surprised actually. I was to the point where I was expecting them to be the ugly eye sore of the project. Luckily that isn’t looking to be the case
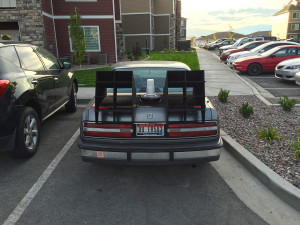
I strapped the reactor vents to the trunk yesterday and took it for a quick test drive. Everything seems pretty stable, but I will keep testing the limits and strengthen it if needed. I drove to work this morning with the vents attached. It is a bit tricky to see out of the rear view mirror but not too bad, so I may upgrade the mirror or perhaps a camera.
Cool thanks for the tips guys!
I took my car to a friends wedding yesterday, and thankfully it survived 2 hours on the freeway. There were plenty of smiles and thumbs up along the way haha. I’m getting so close to finishing, I’m exited
2 days! Then I’m out a time!
I have a quick minute to post an update. I’ve been waiting for the last piece show up, some wiring to extend the EL wire. (I just recieved the delivery notification, so I’ll have it when I get home. After that, I’m pretty much done! In the meantime, over the weekend I continued work on my other BTTF 2015 props.
Nike bag:
and the jacket:
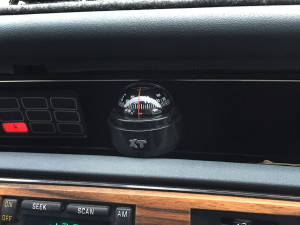
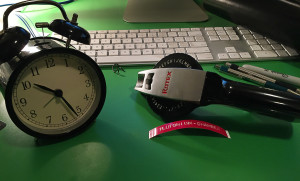
I put the finishing touches on the dashboard gauges last night and installed them this morning. I also picked up a cool clock from IKEA on Saturday on the way home from my friend’s wedding, It’ll go nicely on the dash. I just need to figure out a way to anchor it down so it doesn’t fly around. Alongside the other dashboard items is a cheap bubble compass.
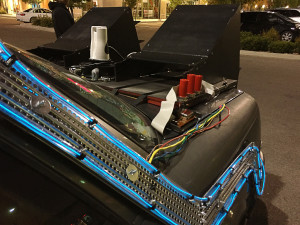
And at last I attached the completed flux boxes to the car this morning. The “boxes” are attached to the “wires” with copious amounts of gorilla glue. And both are held on to the car with plenty of strong magnets. I’m quite happy with how they turned out.
Finally attached the flux bands. I have some tidy work to do on the internal wiring, but the essentials are there. When it gets darker I will take some pictures with the lights turned on.
Oh, any my wardrobe of the day.
I’m so excited, the 21st is tomorrow! I figure I’ll keep adding onto my car, slowly upgrading parts as I get ideas in the next month or so. I’m thinking I’ll have to remove everything for the winter though. Someday it may be fun to do this with a sweet delorean look alike car. Or a real delorean… haha someday…
The future is here! Lots of updates today! A lot has happened since my last post here’s a bit of backtracking before I get to the finished project.
Tuesday night, Oct 20, I stayed up late and frantically tried to finish my plan B jacket in time… Also hoping to catch a pepsi bottle, but that didn’t work out so well, oh well. Guess I’ll just have to make my own. I worked until my fingers were tired of glue and my back hurt from slouching, so I retired to bed.
I ran to the store early in the morning on October 21st 2015 to get more glue, and happened to park next to this guy…
I thought this was a funny coincidence after the Pepsi perfect mess.
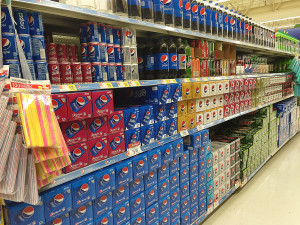
Still no pepsi perfect…
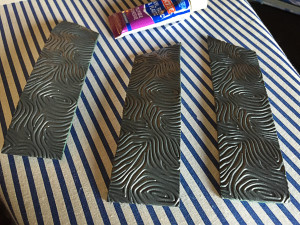
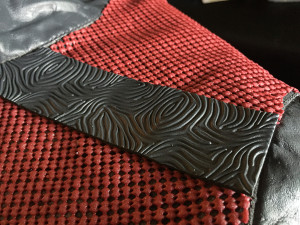
Back at home I continued gluing the drawer liner to my modifies coat. I also plasti-dipped some textured craft foam that I thought looked cool, kinda reminded me of the 80s.
The jacket isn’t perfect, and certainly not symmetrical, but for a last minute plan B it isn’t too bad.
In between sessions working on the jacket, I went outside to put the finishing touches on my car while the glue was drying. These are some detail shots I snapped this morning.
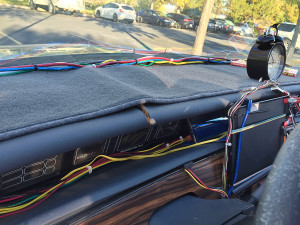
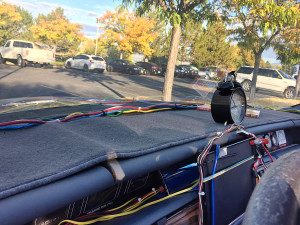
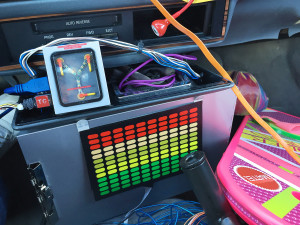
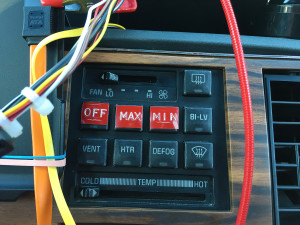
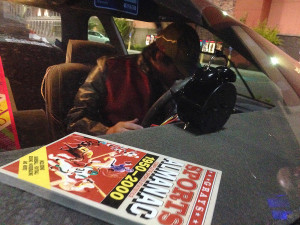
Dashboard wiring, IKEA clock, and almanac. Absent from photo: iPad Time circuits.
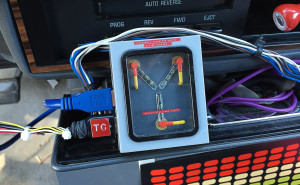
USB Flux Capacitor to charge the iPad. Also a velcro LED sound activated meter.
PVC Time Circuits control switch/cupholder. Various wires.
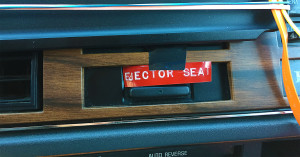
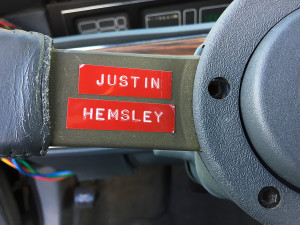
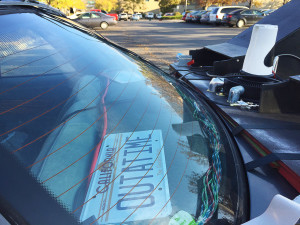
Various labels.
Outside.
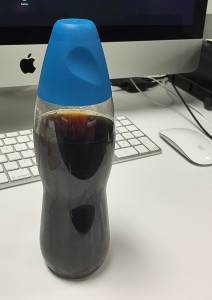
My makeshift “Rootbeer Perfect”
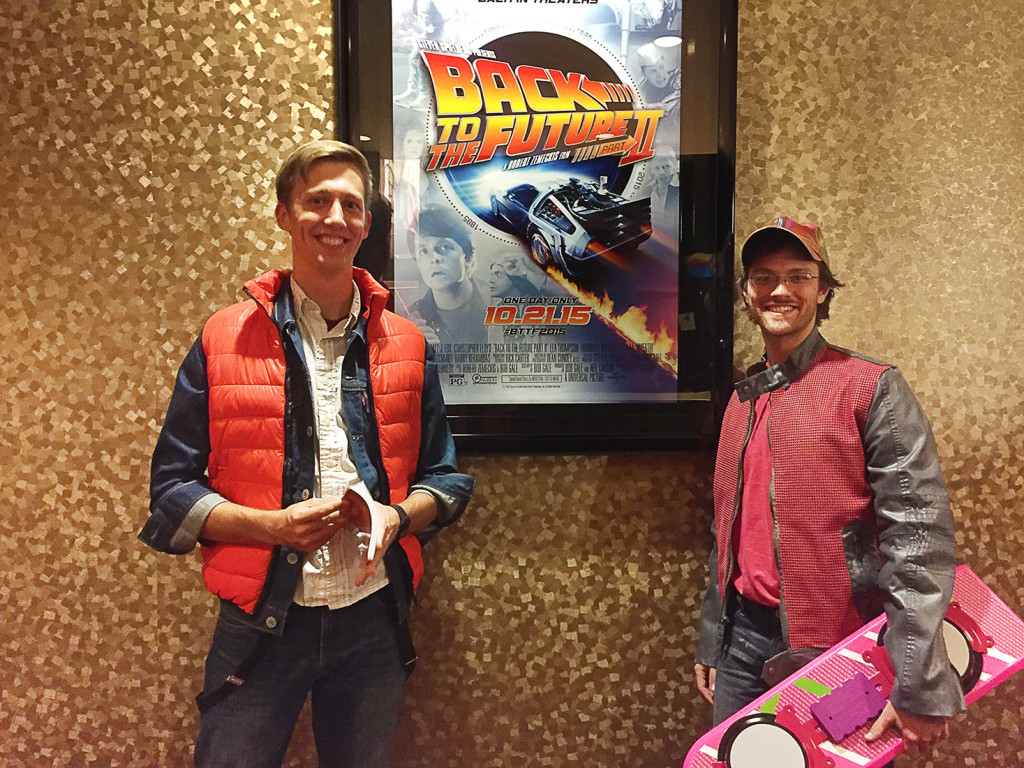
Went to lunch with my brother and friends before the screening!
My brother and I after the trilogy marathon. My other brother had to leave before we took a picture. It was soo much fun to watch these in a real theatre with an audience instead of a worn out VHS tape haha. Such good movies!
And after the movie an impromptu cell phone photoshoot!
The ride home.
I’ve had a blast making this and need to give a shoutout to the folks on The RPF for the encouraging words. I love the creativity and inspiration there and it amazes me every time I log on. Love you RPF!
– Justin Hemsley
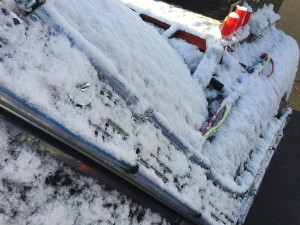
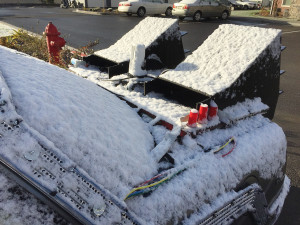
Alas, all good things must come to an end. Once it started getting cold enough to snow I dismantled the time machine. It’s sitting in my garage awaiting a future.

